Creating Your First Sequence
Once you get into Adobe Premiere and organize where you want your files to be and you import all your footage and audio you want to use, you can start editing! Your screen will look a little something like this:

If we look at each panel, on the top left is the Source Panel which shows a preview of your unedited footage, the top right is the Program Panels which is a preview of your edited footage, the bottom left is the Project Panel where you can access all your imports and footage, and the bottom right is your Timeline Panel.
Your timeline is where you’re going to do all your editing: effects, transitions, trims, all the nitty gritty details. You drag your footage from the Project Panel to the Timeline Panel and boom! You just created your first sequence and are on your way to editing.
How to Cut and Trim Your Footage
A major thing with editing is cutting out parts of your unedited video that’s unnecessary or messed up. To do this, you want to move your playhead (the blue line that shows up in your timeline) to where you want to cut the video. Make sure you select the clip you want to cut by clicking on it. That way the program knows which footage you want to cut.
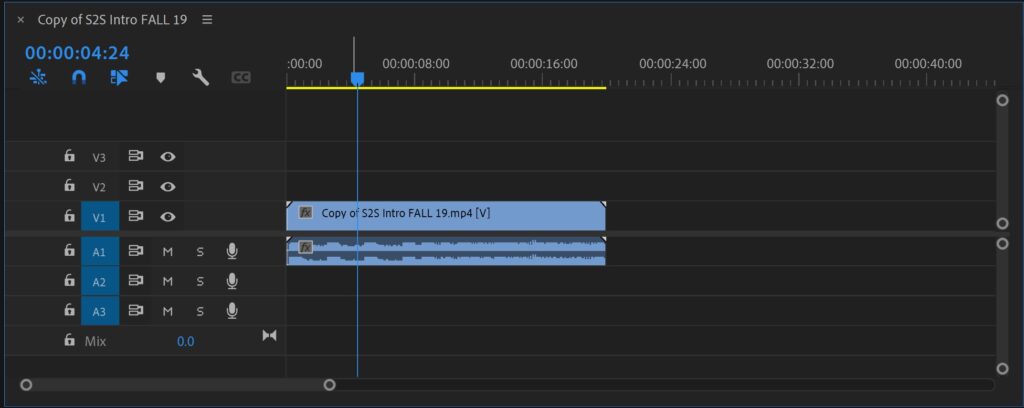
Here you can see that I placed the playhead at the 4 second mark and that’s where I want to make my first cut.
The Razor Tool
The Razor Tool (shortcut is pressing C on the keyboard) is the cutting tool that you can use to cut your footage. It’s going to be in the tools panel that’s typically to the left of your timeline.
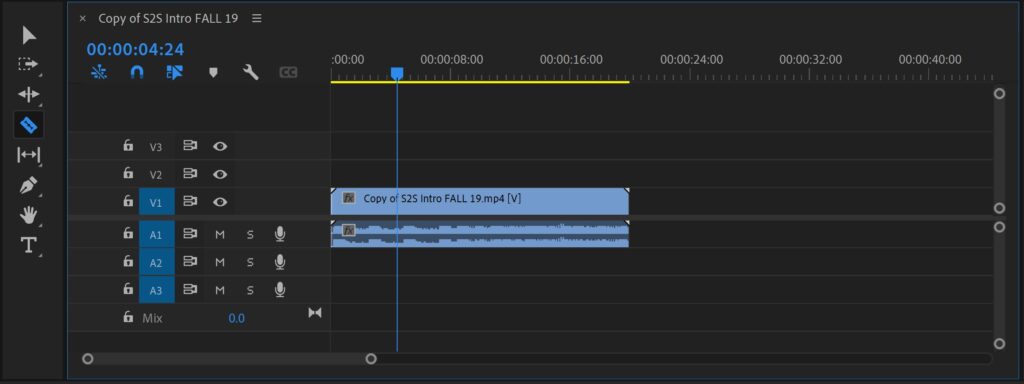
After you select the Razor Tool, your mouse will look like a little razor blade and you can move your mouse to where the playhead is, click, and your footage will be cut.
The Keyboard Shortcut
You don’t have to select the razor tool in order to cut your footage. You can simply move the playhead to where you want to cut it and on your keyboard press ctrl and K at the same time (ctrl + K for short). Premiere will automatically cut where your footage where the playhead was on your timeline.
Manually Moving the Footage
You can also move the end of the footage to meet the playhead if you don’t feel like cutting your footage.
The Ripple Delete
Once you cut out the part you don’t want you can either manually move the clips together where you want them or you can do the ripple delete. The rippled delete is basically clicking the blank space in between the two clips and deleting the blank space so that the two clips join together.
Once you have your blank space selected, you can also right click on that space and choose “Ripple Delete”. Easiest way, however, is to just press backspace on your keyboard.
Celebrate!
You just learned how to cut and trim your video! You are now one step closer to becoming a professional video editor.